
How to Capture the Best Photos of the Perseids 2026
How to Capture the Best Photos of the Perseids 2026
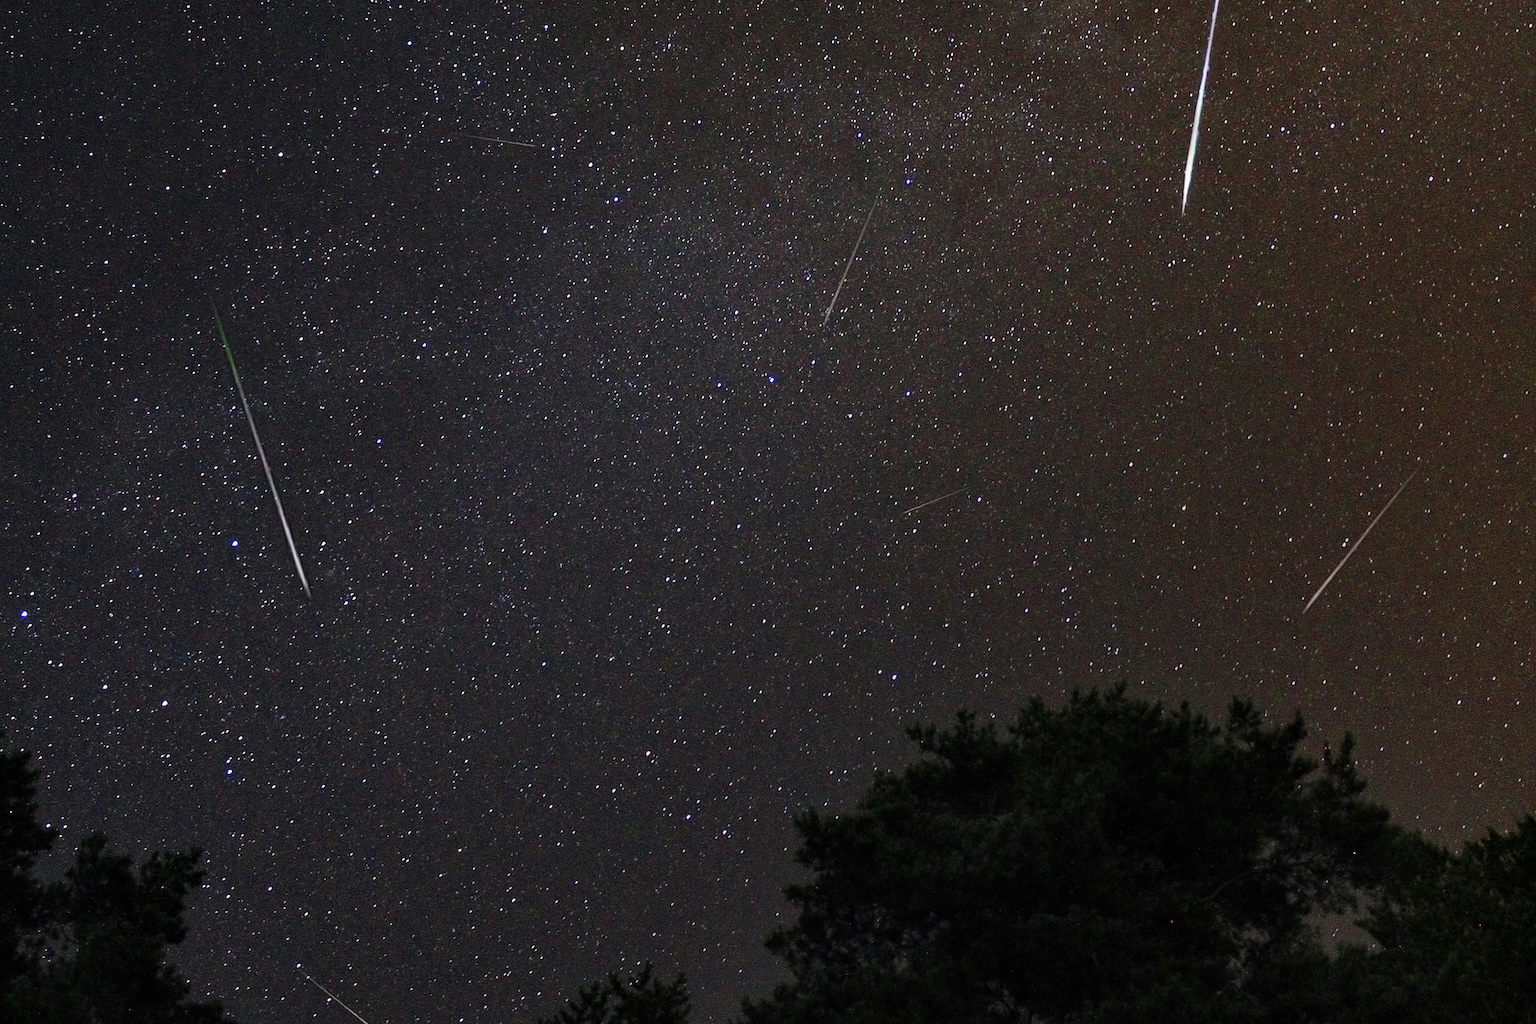
The 2026 Perseids offer excellent conditions for night-sky photography. The strongest activity is expected around the night of August 12 to 13, close to a new moon. With very little moonlight competing with the meteors, darker trails should be easier to photograph.
The traditional maximum may occur between August 12 at 21:00 UTC and August 13 at 09:00 UTC. At mid-northern latitudes, the radiant rises higher from approximately 22:00 to 23:00 local time, with the best opportunities generally coming after midnight. International Meteor Organisation
What kind of camera do you need?
A modern full-frame mirrorless camera paired with a fast, wide-angle lens is the strongest all-round option. Full-frame cameras usually handle high ISO settings well, which helps when photographing faint light against a dark sky.
However, you do not need a full-frame camera to get a good result. An APS-C mirrorless camera or DSLR can capture the Perseids too. The camera should ideally have:
- Manual exposure controls
- RAW image capture
- Interchangeable lenses
- Bulb mode or exposures of at least 15 to 30 seconds
- A remote shutter or interval shooting option
- A battery that can last through a long sequence
The lens, location and shooting method may affect your results more than the camera brand.
Choose a fast, wide-angle lens
A wide-angle lens records a large part of the sky, increasing the chance that a meteor will cross your frame. NASA recommends a wide-angle lens for this reason. A telephoto lens covers a much smaller area and makes catching a meteor more difficult. NASA meteor photography guide
For a full-frame camera, start with:
- 14 to 24 mm focal length
- An aperture of f/2.8 or faster
For an APS-C camera, try:
- 10 to 16 mm focal length
- An aperture of f/2.8 or faster
An f/1.4 or f/1.8 prime lens can capture more light, but it may need to be stopped down slightly if the stars become distorted near the edges of the photograph.
A kit lens can still work. Set it to its widest focal length and use its widest available aperture. You may need to increase the ISO to compensate for the smaller aperture.
Step 1: Find a dark location
Light pollution can hide faint meteors and turn the sky orange or grey in your photographs. Choose a location away from streetlights, buildings and busy roads.
Check the weather forecast before leaving. You need a reasonably clear sky, although a few clouds can sometimes add atmosphere to a photograph.
Arrive before dark if possible. This gives you time to find a safe position, choose a foreground and assemble your equipment without working in complete darkness.
Avoid placing bright lights directly in front of the camera. Even a nearby phone screen can affect your night vision and illuminate the foreground unexpectedly.
Step 2: Prepare the equipment
Bring:
- Your camera and wide-angle lens
- A stable tripod
- A fully charged battery and at least one spare
- An empty memory card with plenty of capacity
- A reliable remote control solution
- A power bank for the phone
- A lens cloth
- Warm clothes and a chair
- A small red light instead of a bright white flashlight
Condensation can form on the lens during a long night. Check the front element occasionally and wipe it carefully when necessary. In humid conditions, a lens heater can prevent dew from forming.
Step 3: Set up the camera
Place the camera on the tripod and make sure every adjustment is locked.
Select these camera settings:
- Manual exposure mode
- RAW image format
- Manual focus
- Daylight or a fixed white balance
- Image stabilization off when the camera is firmly mounted
- Flash off
- Long-exposure noise reduction off
Long-exposure noise reduction can create a pause after every photograph. A 15-second exposure may be followed by another 15 seconds of processing, leaving the camera unable to photograph the next meteor. You can manage noise later when editing the RAW files.
Set the screen brightness as low as practical. A bright screen can interfere with your night vision and make the photograph appear brighter than it actually is.
Step 4: Focus on a star
Autofocus often struggles in a dark sky. Do not simply rotate the lens to the infinity symbol and assume the image will be sharp.
Instead:
- Point the camera toward a bright star or distant light.
- Activate the camera's live view.
- Magnify the star on the screen.
- Turn the focus ring slowly until the star looks as small and sharp as possible.
- Take a test photograph and inspect it at high magnification.
- Once the focus is correct, avoid touching the focus ring.
You can place a small piece of removable tape on the focus ring to prevent it from moving during the sequence.
Step 5: Compose the photograph
Do not fill the entire frame with empty sky. A mountain, tree, building, lake or person can give the photograph a sense of place and scale.
The Perseids appear to radiate from the constellation Perseus, but meteors can cross many parts of the sky. A very wide field of view gives you the best chance of recording one.
Try placing the horizon in the lower third of the frame, leaving most of the photograph for the sky. Check that no bright streetlight, car or building is entering the frame.
Take a few photographs during blue hour if you want a cleaner and more detailed foreground. You can later combine that foreground with your night-sky exposures, but describe the finished image as a composite if you merge photographs taken at different times.
Step 6: Choose the exposure settings
A reliable starting point for most cameras is:
- Aperture: f/1.8 to f/2.8
- Shutter speed: 10 to 15 seconds
- ISO: 3200 or lower
- White balance: approximately 3800 to 4500 K
- File format: RAW
Take a test photograph and inspect the stars.
If the sky is too bright, lower the ISO or shorten the exposure. If the sky is very dark and few stars are visible, raise the ISO or use a wider aperture.
If the stars are becoming short lines rather than points, reduce the exposure time. NASA suggests using the 500 Rule as a starting point: divide 500 by the lens focal length to estimate the longest exposure before obvious star trails appear. Modern high-resolution cameras may require a shorter time, so always check a magnified test image.
Do not worry if the meteor itself appears brighter than the surrounding stars. Bright Perseids and fireballs can produce strong streaks even when the background remains relatively dark.
Step 7: Control your camera remotely
A remote shutter allows you to run this sequence without touching the camera. Pressing the shutter button by hand can cause slight movement, which may soften stars and fine details during a long exposure. Leaving the camera untouched also reduces the risk of disturbing its focus, framing or tripod position.
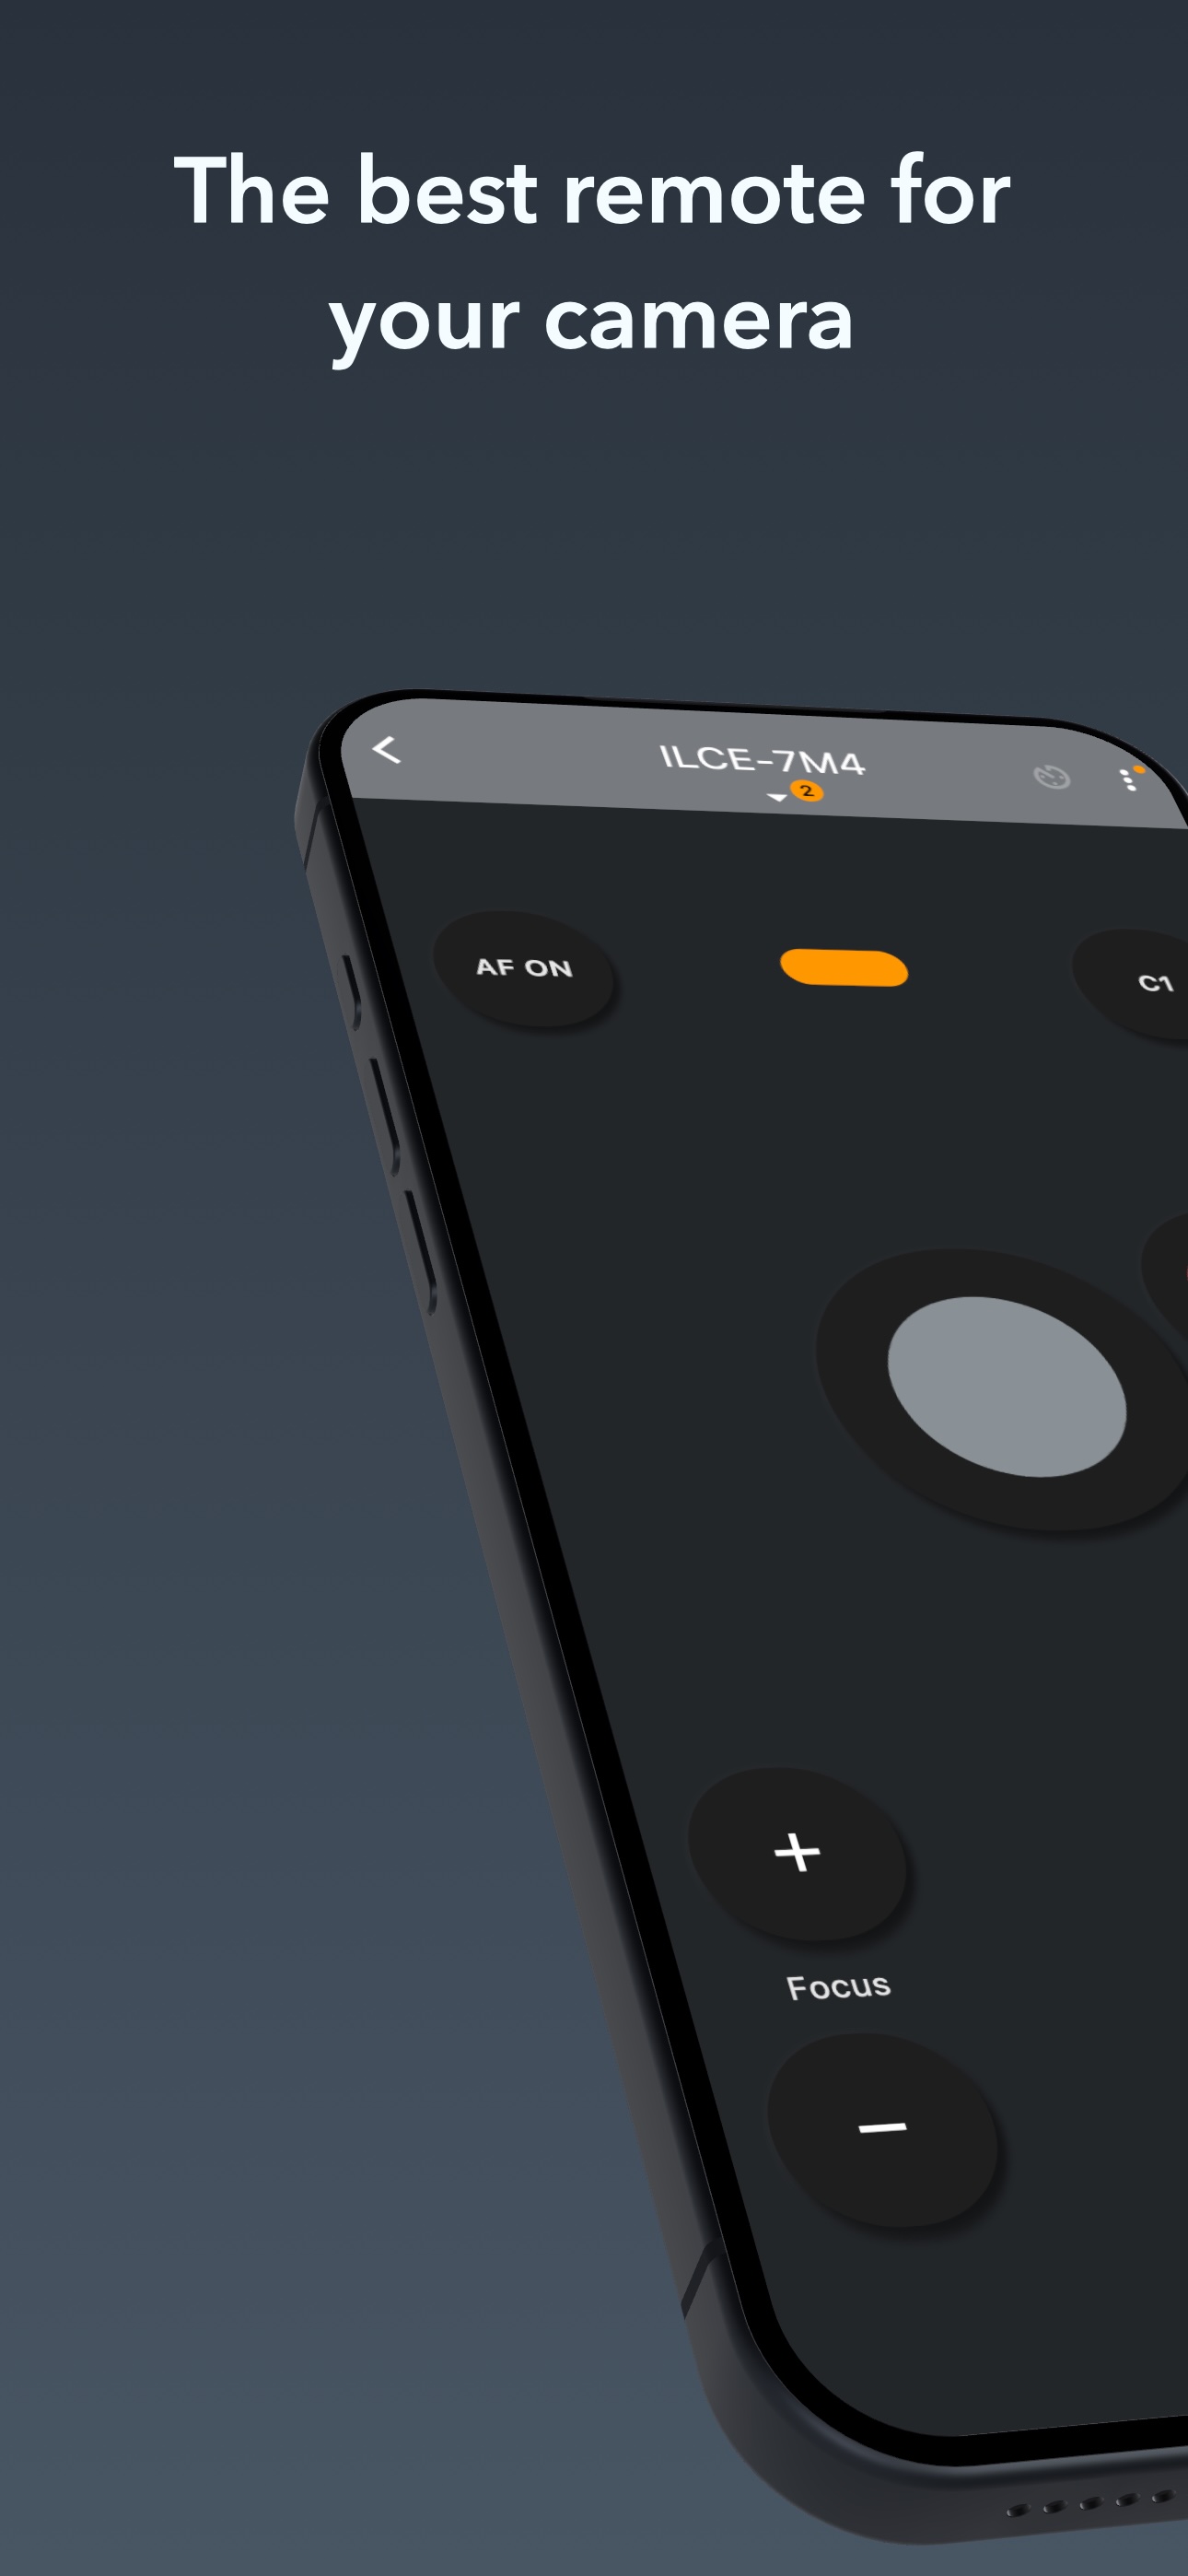
You can opt for a wired remote, a wireless physical remote or even an app!
We highly recommend BT Cam which provides remote control from your phone through Bluetooth. You can use the app to configure a timer sequence with these starting settings:
- Exposure time: 10 to 15 seconds
- Interval between photographs: 2x your exposure time or more to give your camera enough time to process images
- Number of photographs: 300 or more
- Focus: manual and already confirmed
Before starting the full session, run a test sequence of five photographs. Check that the camera saves every image, the interval works as expected and the battery has enough charge.
If you have two compatible cameras, point them at different parts of the sky and control both from the same phone. Covering more of the sky increases your chances of catching a meteor without requiring you to reposition the main camera during the shower.
BT Cam supports more than 250 camera models across major DSLR, mirrorless, compact and cinema camera systems. Selected external triggers can also connect older cameras. Check BT Cam camera compatibility.
Step 8: Let the sequence run
Once everything is working, avoid stopping the camera every few minutes to review photographs. Meteors often appear when the camera is being adjusted.
Let the sequence run for at least one hour. The more photographs you take, the better your chances of catching a meteor. Instead of relying on a single exposure, set the camera to capture several hundred images over the course of the session.
Monitor the battery, memory card and lens for condensation. Otherwise, leave the camera alone and enjoy the sky.
Step 9: Select and edit the photographs
After the session, review the images at full size. Meteors usually have a cleaner, more natural-looking streak than aircraft. Aircraft trails may contain repeated lights, while satellites often create longer and more uniform lines.
For a single photograph:
- Correct the exposure and white balance.
- Reduce noise carefully.
- Add contrast without crushing the darker parts of the sky.
- Adjust the highlights if the meteor is very bright.
- Apply moderate sharpening. You can also create a composite containing several meteors recorded during the same session. Align the stars before combining the images, then blend the meteor frames over a selected base exposure. Keep the edits natural and identify the result as a composite when publishing it.
For a smoother, hands-free night-photography session, check whether your camera is compatible with BT Cam and prepare your sequence now!
Control Your Camera with BT Cam
Take your photography to the next level with BT Cam - the ultimate Bluetooth camera control app. Connect to your camera wirelessly and unlock powerful remote shooting capabilities.
Download BT Cam